

How to Replace a Garage Door Motor Yourself
So your garage door opener has stopped working, and you’re wondering whether you really need to call someone or if you can handle it yourself. The honest answer? It depends on your comfort level with basic tools and a bit of patience. Replacing a garage door motor is a manageable DIY project for many homeowners, but it does come with a few things you need to understand before you start.
Is It Really the Motor?
Before you buy a new opener, it’s worth confirming the motor is actually the problem. A door that won’t open at all, hums without moving, or runs but doesn’t lift the door can point to a failing motor, but similar symptoms also show up with a dead capacitor, worn gears, or a broken spring. It’s worth reviewing the signs your garage door opener is failing first, since a couple of them look like motor failure but have a much simpler fix. And if the door feels unusually heavy to lift by hand once it’s disconnected, check your spring tension before assuming it’s the motor.
That’s a different repair entirely, and not one to DIY.
What Is a Garage Door Motor, Exactly?
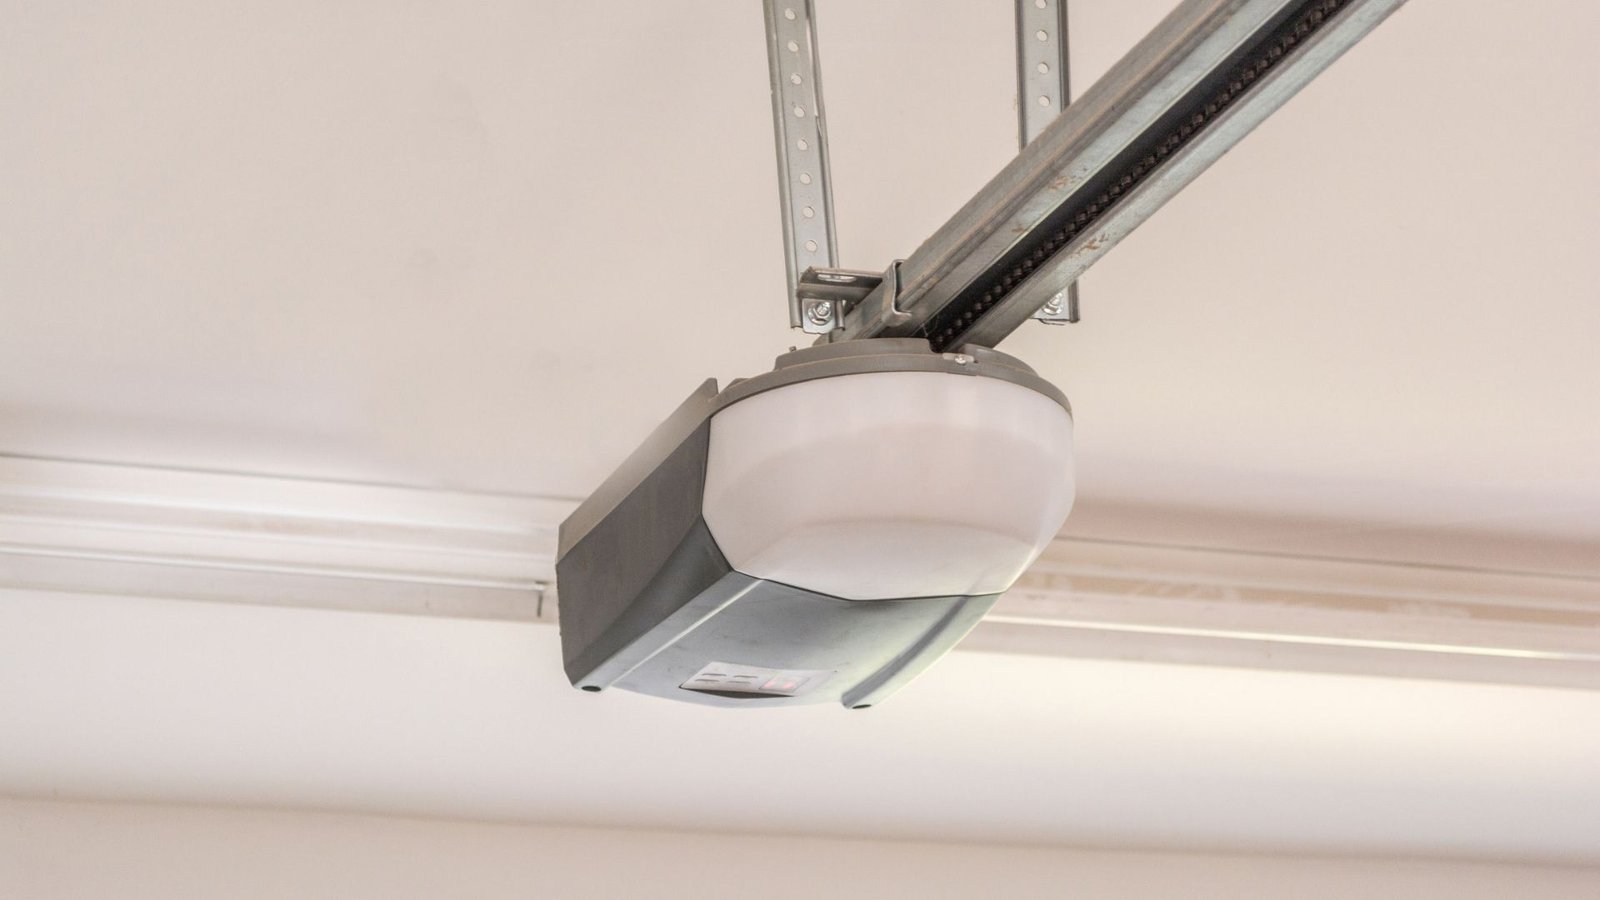
The “motor” most people refer to is actually the drive unit inside your garage door opener.
Depending on the model you have, your system might use a chain drive, a belt, or a direct-drive mechanism. Each type has slightly different hardware, but the core replacement process is similar across the board. If you’re not sure which of the types of garage door openers you currently have, checking the rail above your door is the easiest way to tell.
The motor converts electrical power into the mechanical movement that raises and lowers your door. When it fails, your door either won’t move at all or behaves erratically.
Tools and Parts You’ll Need
Before you touch anything, gather your supplies.
- A new garage door opener with matching horsepower to your old unit
- A ladder
- A screwdriver and adjustable wrench
- A staple gun (for securing any wiring or cable runs)
- Replacement brackets if your old ones are corroded or bent
Make sure the new opener includes a keypad and sensor kit, or plan to buy them separately if needed. Most modern units do, but double-check the box before you leave the store.
Safety Tips Before You Start
A garage door opener carries electrical and mechanical risks that are easy to underestimate, especially once you’re standing on a ladder with the door disconnected.
Cut the Power Completely
Don’t just switch the unit off – unplug it or shut off the breaker before touching any wiring.
Stay Clear of the Spring System
The motor and the springs are separate components, but working near a wound torsion spring nearby is genuinely dangerous. If you want to understand why professionals treat this part with so much caution, our breakdown of the dangers of garage door springs explains what can go wrong.
Use a Stable Ladder
Have someone hold it steady while you’re working overhead near the header wall.
Support the Door Manually
Once it’s disconnected from the trolley, since an unbalanced door can drop unexpectedly.
Wear Eye Protection
When drilling or handling brackets above your head.
None of these are difficult on their own, but skipping any of them is how a routine motor swap turns into an ER visit.
How to Replace a Garage Door Motor: Step by Step
Step 1 – Disconnect the Old Unit
Unplug the opener from the power outlet. Then pull the red handle or cord hanging from the trolley to disconnect the door from the drive system. This lets you operate the door manually during the swap.
Step 2 – Remove the Old Opener
Use your wrench to remove the bracket bolts connecting the opener to the ceiling and the header wall above the door. Carefully lower the unit and set it aside.
Step 3 – Install the New Unit
Follow the manufacturer’s instructions for your specific model. Mount the new bracket first, then attach the rail and motor unit. Whether your system uses a chain drive or a belt, alignment is critical here – a crooked installation will cause noise and premature wear.
Step 4 – Reconnect the Sensor and Keypad
Attach the safety sensors near the base of the door on both sides. Run the wiring up to the motor unit and connect it using the labeled screw terminals. Then sync your keypad and test the door a few times to confirm smooth operation. Check your warranty documentation so you know what’s covered if something doesn’t work right out of the box.
How Much Does It Cost to Replace a Garage Door Motor?
Doing the swap yourself saves you the cost of labor, since you’re really only paying for the opener unit. That said, the total still depends on the horsepower, drive type, and features you pick, and a premium model with smart connectivity or battery backup will run more than a basic chain-drive unit.
If you’d rather have real numbers to plan around, or want to weigh the DIY route against having a professional handle the whole job, our breakdown of garage door opener installation costs covers typical pricing either way.
Worth keeping in mind: a mistake during a DIY install, like a misaligned rail or a fried circuit board from incorrect wiring, can end up costing more than professional installation would have in the first place.
When DIY Becomes a Bad Idea
If your door is heavy, misaligned, or has a broken spring, stop. Those issues go beyond the motor and require professional attention for safety reasons.
Frequently Asked Questions
Can I just replace the motor without buying a whole new opener?
Usually not. Garage door opener motors aren’t typically sold as standalone parts, since the motor, rail, and control board are built as one integrated unit. Replacing “the motor” almost always means replacing the whole opener.
How long does a DIY motor replacement take?
Most homeowners can finish the swap in two to three hours, longer if the bracket or rail needs adjusting to fit the new unit.
Do I need to reprogram anything else after replacing the motor?
Yes. Beyond syncing your keypad and remote, check any smart home or garage door app connections, since a new unit usually needs to be added as a new device.
Will replacing the motor void my opener’s warranty?
No, a brand-new opener comes with its own manufacturer warranty, separate from whatever coverage the old unit had.
How do I know if my opener is just old rather than broken?
If it’s been running for over a decade, age alone could be the issue. It’s worth checking how long garage door openers typically last before you sink time into diagnosing a repair.
When to Replace a Garage Door Motor Yourself
Replacing a garage door motor yourself is doable, but knowing your limits matters. If the job feels bigger than expected, or if you want the work done right the first time without the hassle, reach out to our garage door repair team. We serve League City homeowners with honest pricing and fast turnaround. Sometimes the smartest move is knowing when to call in the pros.