

Automatic Gate Troubleshooting: Start With the Sensor
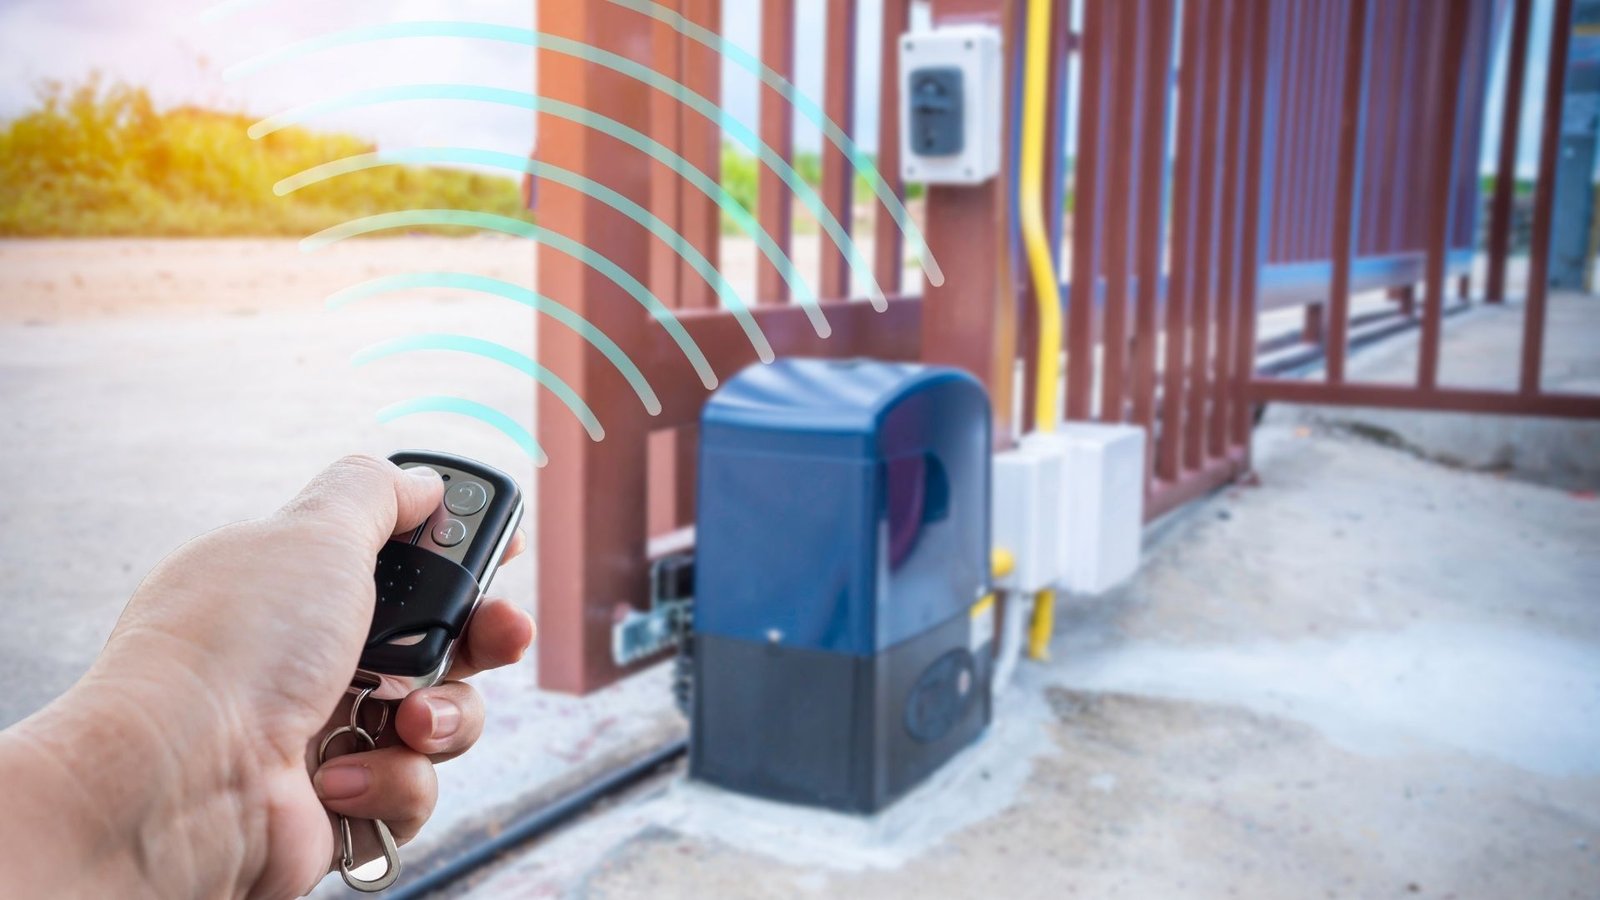
You press the button on your remote control, and nothing happens. Your electric gate just sits there, completely unresponsive. Before you assume the worst or call for help, there’s a good chance the problem starts with something small – and the sensor is usually the first place worth checking.
Gate sensors are the unsung heroes of any automatic gate system. They detect movement, communicate with the opener, and keep the whole operation running smoothly. When they fail, everything grinds to a halt. The good news is that many sensor issues are surprisingly easy to diagnose once you know what to look for.
Why Sensors Are the First Stop in Automatic Gate Troubleshooting
It might seem like a small component to blame for such a big problem, but sensors control a lot more than people realize. They tell your gate opener whether it’s safe to move, whether something is blocking the path, and whether the system has power.
When troubleshooting an electric gate that won’t respond, skipping the sensor check means you could waste time chasing other problems that don’t exist. Start simple, start smart.
Common Sensor Problems and What Causes Them
Dirt, Debris, and Blocked Signal Paths
This is probably the most overlooked cause of gate failure. Sensors rely on a clear line of sight or a clean surface to function properly. Grass clippings, mud, leaves, and debris that accumulate near the base of your driveway gate can block or confuse the sensor’s signal.
Take a close look at both the transmitter and receiver ends of your sensor. Wipe them down gently with a dry cloth and remove anything sitting in the sensor’s path. You’d be surprised how often this alone solves the issue.
Corrosion and Weather Damage
Living in an area with humidity and frequent rain means your gate components are exposed to conditions that encourage rust and corrosion. Over time, corrosion can affect the sensor housing, the electrical wiring connected to it, and even the contacts inside the unit.
Check the wire connections leading to the sensor. If you notice green or white buildup around any terminals, that’s corrosion at work. This kind of damage reduces voltage flow and can cause intermittent or complete failure of the sensor.
Misalignment After Wind or Impact
Sensors that are physically mounted to a post or hinge area can shift out of alignment after strong weather events or accidental contact. Even a small shift can break the beam or signal path that your gate opener relies on.
Look at both sides of the sensor setup and confirm they’re pointed directly at each other. Most manufacturers, including brands like Apollo Gate Openers and USAutomatic, provide alignment guides in their documentation. If your system is still under warranty, misalignment caused by weather or impact may be covered.
Checking the Power Supply Before Going Deeper
If the sensor looks clean and aligned but the gate still won’t move, the next step is confirming that power is reaching the system properly.
Circuit Breaker and Transformer Checks
Start at your circuit breaker. A tripped breaker is a common and easy-to-miss culprit, especially after a storm. Flip it off and back on, then test the gate again.
If the breaker is fine, trace the power back to the transformer connected to your gate opener. Use a basic voltage tester to confirm the transformer is outputting the correct voltage. Low or inconsistent voltage is a sign that the transformer itself may be failing.
Backup Battery and Solar Panel Status
Many modern gate systems, including those built around Austin Estate Gate and Apollo Gate Openers, include a backup battery for power outages. If this battery is old or depleted, it may not be providing enough power to run the sensor or opener even when the primary power source is working.
Check the backup battery’s charge level and replace it if it’s been more than two to three years. If your system uses a solar panel for supplemental power, inspect it for shade blockage, dirt buildup, or physical damage. A solar panel that’s covered in grime won’t charge the battery properly, leaving the whole system running on insufficient power.
Keypad, Remote Control, and Switch Diagnostics
Sometimes what looks like a sensor problem is actually a signal problem coming from the input devices.
Testing the Remote Control and Transmitter
Replace the battery in your remote control or transmitter first. This is quick, cheap, and eliminates a very common cause of non-response. If the remote still doesn’t trigger the gate after a fresh battery, check whether the transmitter is programmed correctly to your opener’s receiver.
Some Apollo Gate Openers and similar systems require re-pairing after a power interruption. Consult your manual or the manufacturer’s guide for the specific pairing process.
Keypad and Switch Inspection
Walk to your keypad and try opening the gate from there. If the keypad works but the remote doesn’t, the problem is in the transmitter or its programming – not the sensor. If neither works, you’re likely dealing with a power or sensor issue that needs more attention.
Also check any manual override switch on the opener unit itself. Some systems include a force adjustment setting that controls how hard the gate pushes. If this is set incorrectly, the gate may detect resistance and refuse to move even when the path is clear.
Mechanical Issues That Mimic Sensor Failures
Not every gate problem is electrical. Sometimes the gate physically can’t move, and the system interprets that as a safety signal.
Rust, Hinges, and Lubrication
Rust on the gate’s hinges or track can create enough resistance that the opener stops trying to move the gate, triggering a fault. Inspect all hinges and moving parts for rust buildup and signs of wear.
Proper lubrication is critical for smooth gate operation. Use a lithium-based lubricant on hinges, gears, and any moving metal components. Avoid standard WD-40 for long-term lubrication – it evaporates quickly and doesn’t protect against moisture in the way a lithium soap formulation does.
Noise as a Diagnostic Clue
Pay attention to any noise the gate makes when you attempt to open it. Grinding noise often points to gear wear or debris in the track. A clicking noise without movement can suggest a power issue or a motor trying to engage but unable to follow through. These sounds are your system talking – listen carefully.
When to Call in a Professional
If you’ve worked through sensor alignment, cleaned the components, checked the power supply, tested the remote and keypad, and inspected for rust and lubrication issues – and the gate still won’t move – it’s time for a professional inspection.
Electrical wiring issues inside the gate opener, failed control boards, or deep corrosion in the system are not safe DIY territory. A licensed technician can test voltage at multiple points, assess the condition of your wiring, and identify problems that aren’t visible from the outside.
Regular maintenance also goes a long way toward preventing these headaches in the first place. A routine inspection catches small issues – like a weak backup battery or early-stage corrosion – before they grow into full system failures.
What to Check When Your Automatic Gate Won’t Open
A gate that won’t move is frustrating, but it’s rarely hopeless. Start with the sensor, check the power supply, and work through each component methodically. Most of the time, the fix is simpler than you’d expect. If the problem turns out to be deeper than a sensor or battery swap, professional help is always the smarter move over guessing.
For reliable repairs and expert maintenance that keeps your system running year-round, explore our gate repair services to see how Level Up Garage Door can help.