
How to Replace a Garage Door Seal the Right Way
A worn-out garage door seal might seem like a small issue, but it can let in rain, wind, pests, and even humidity that damages your belongings over time. If your garage door is no longer closing flush against the ground, it is time to take action. The good news is that this is one home project most people can handle with the right guidance.
What Is a Garage Door Seal and Why Does It Matter?
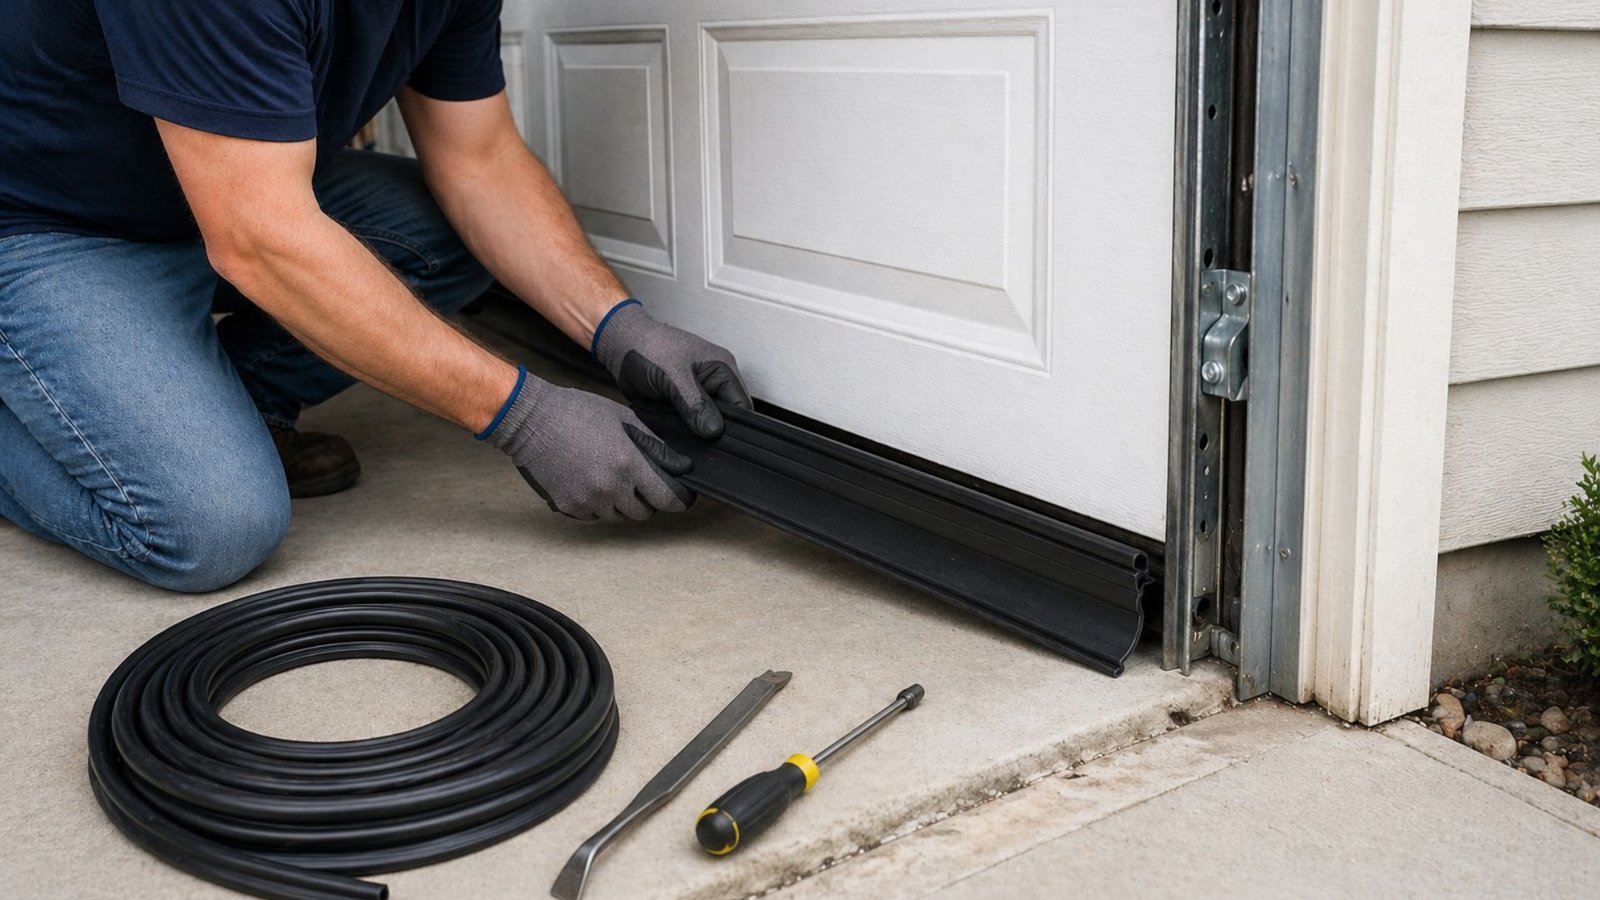
The seal along the bottom of your garage door – often called a garage door bottom seal – is a rubber or vinyl strip that closes the gap between the door and the concrete floor. Over time, weather exposure, friction, and everyday use break it down. In places with hot and humid climates, that rubber degrades faster than in drier, cooler places such as Canada.
A failing seal invites water, bugs, and outside air directly into your garage. Replacing it on time keeps your space protected and your energy bills lower.
Tools You Will Need for This Project
Before you replace a garage door seal, gather these basics:
- A utility knife
- A measuring tape
- A flathead screwdriver
- A drill or screwdriver
- Replacement seal material (rubber or vinyl)
Having everything ready before you start saves time and frustration.
Step-by-Step Guide to Replacing Your Garage Door Bottom Seal
This step-by-step guide walks you through the full process so you can replace your garage door seal with confidence.
Step 1 – Measure and Remove the Old Seal
Open the garage door and measure the full width of the door panel. Use a utility knife to cut away the old seal if it’s glued or stuck in place. If your seal slides through a track on the bottom of the door, simply pull it out from one side.
Step 2 – Clean the Track and Door Bottom
Once you remove the old seal, clean the track and bottom edge thoroughly. Dirt and debris prevent the new seal from sitting correctly.
Step 3 – Install the New Seal
Slide or press the new rubber seal into the track. If it is a fold-over type, fold it evenly and use screws to fasten the retainer. Trim any excess with your utility knife. Make sure the seal sits flat against the floor to ensure a proper fit.
You can also learn more about proper installation techniques by watching tutorials on YouTube before starting.
When to Call a Professional Instead
Not every seal replacement goes smoothly. If your door is misaligned, the track is damaged, or the garage door weather stripping along the sides is also failing, it may be worth calling in help. A misaligned door can make seal replacement ineffective and lead to bigger repairs later.
The team at Level Up Garage Door offers professional garage door repair services and expert garage door installation for homeowners who want it done right the first time. As trusted local garage door specialists, they handle everything from bottom seals to full system replacements.
Conclusion
Replacing a garage door seal is a manageable DIY project when you follow the right steps.
Measure carefully, use the correct tools, and do not skip cleaning the track before installing the new seal. If anything feels off or the damage goes beyond the seal, do not guess – get professional help.
Use this guide on how to replace and maintain your garage door properly, and schedule your garage door service with Level Up Garage Door to keep everything running smoothly year-round.