

How to Install a Garage Door Threshold Seal Correctly
Got water sneaking under your garage door every time it rains? Dust, bugs, and outside air creeping in no matter what you do? A garage door threshold seal is one of the simplest fixes you can make – and the best part is you do not need to be a contractor to pull it off.
This is a true do-it-yourself project. With the right materials and a little patience, most homeowners can knock this out in about 20 minutes flat.
What Is a Garage Door Threshold Seal?
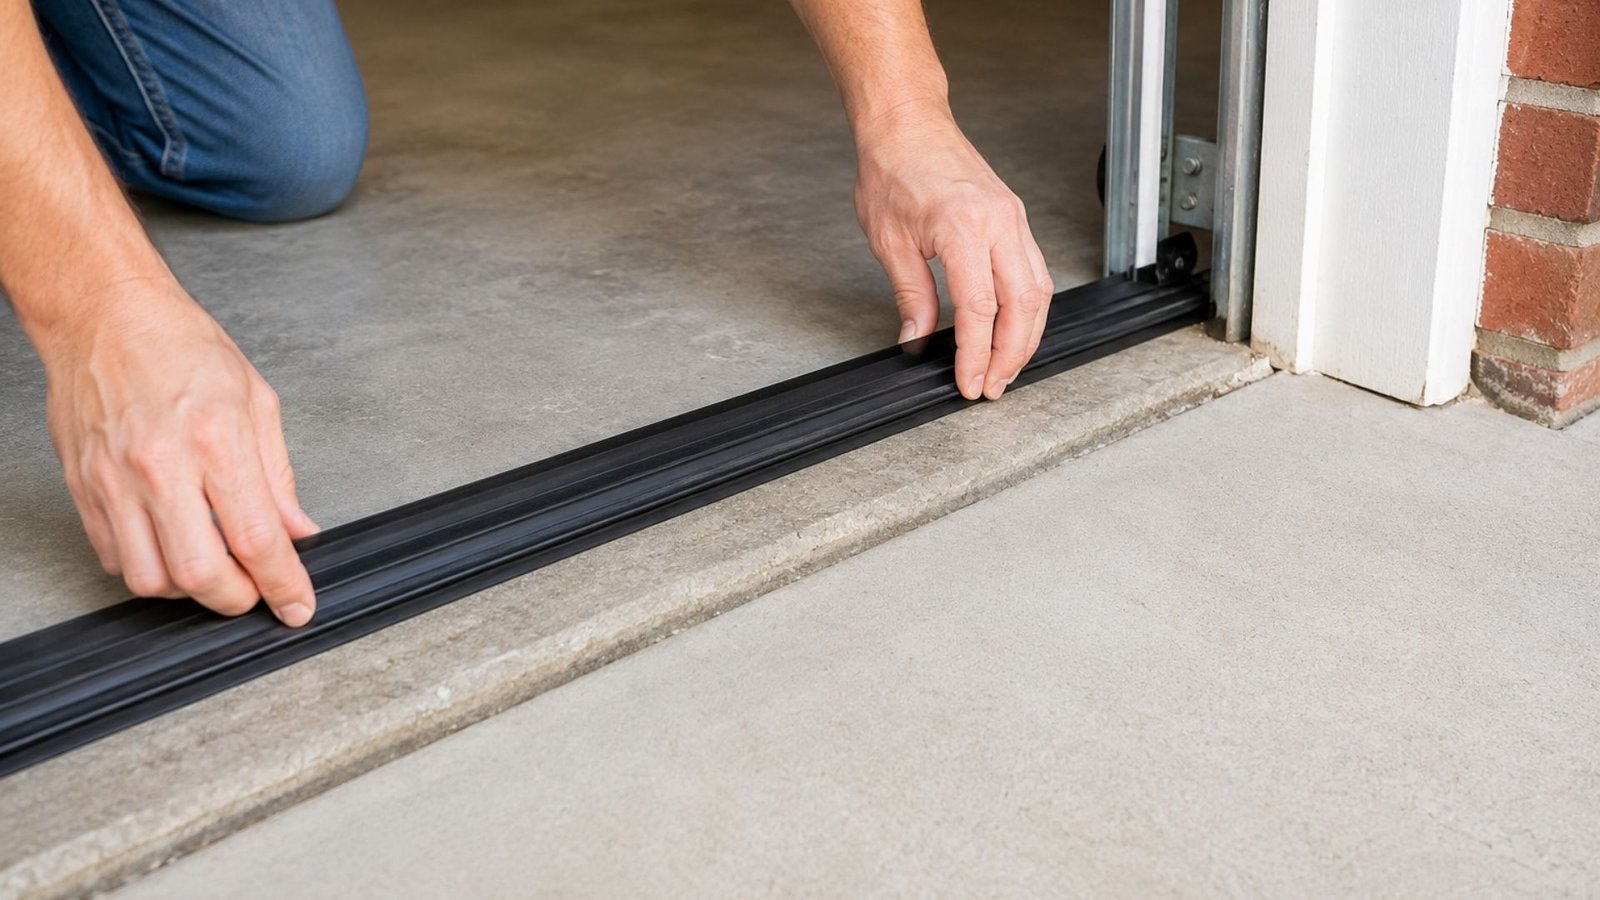
A threshold seal is a strip of flexible sealant material – often rubber or vinyl – that bonds directly to your garage floor, not to the door itself. When the door closes, it presses down against the seal, blocking gaps caused by uneven floors, worn weatherstripping, or general settling over time.
Popular brands like GaraDry and Weather Defender make durable options designed for residential garage use. GaraDry seals in particular are known for holding up well against water intrusion and daily wear.
What You Will Need
Before you start, gather these materials:
- Threshold seal kit (GaraDry or similar)
- Adhesive – usually included or purchased separately
- Knife or utility knife for trimming
- Hacksaw if you need to cut through tougher material
- Wire brush for cleaning the floor surface
- Garden hose for a wet test at the end
- Paint tape for marking your cut line
How to Install a Garage Door Threshold Seal
Step 1: Clean the Floor
Use a wire brush to scrub the area where the seal will sit. Remove all dust, grease, and debris. A dirty surface will prevent the adhesive from bonding properly.
Step 2: Close the Door and Mark Your Line
Close your garage door fully. Use painter’s tape or a marker to trace the inside edge of the door along the floor. This gives you a precise placement guide.
Step 3: Cut the Seal to Length
Measure your garage door opening and cut the threshold seal to match. A knife works for soft rubber seals. For firmer materials, use a hacksaw.
Step 4: Do a Dry Fit
Lay the seal along your marked line without adhesive first. Close the door and check the fit. The door should press down firmly but still open without resistance.
Step 5: Apply the Adhesive
Follow the manufacturer’s instructions – some use epoxy-based adhesive, others use a peel-and-stick backing. Apply the adhesive evenly and press the seal firmly into place along your guide line.
Step 6: Let It Cure and Test
Allow the adhesive to cure per the product instructions. Then grab your garden hose, run water along the outside of the door, and check for any leaks. Adjust if needed.
Keep Your Garage Door Threshold Seal Working
Installing a garage door threshold seal is one of the easiest weekend upgrades a homeowner can make. It keeps water, dust, and pests out while improving energy efficiency. If you run into bigger issues during your project – like a door that is not closing evenly or a floor gap that a seal alone cannot fix – that is a sign something deeper needs attention. Our team at Level Up Garage Door specializes in garage door repair that gets your system working the way it should.